Last Updated: November 8, 2026
Quick Summary
Repairing a wool coat lining professionally starts with assessing the damage: restitch split seams, patch small holes under 2.5 cm with fusible tricot, and choose a full relining when three or more tears appear or the fabric feels thin and brittle. Always match the new lining weight to the shell fabric.
- A seam split is the best-case scenario because the fabric is fine and only the thread failed.
- Patch small holes with fusible tricot cut about 1 cm larger than the hole on every side.
- Bemberg rayon is a common lining choice for a wool coat because it breathes and slides well.
- A coat worn daily from October to March often needs relining before the shell shows damage.
- Ask whether the shop will reinforce the underarm and hem, since these fail first.
Table of Contents
- Why Wool Coat Linings Tear and When to Act
- Assessing Lining Damage Before You Repair
- How to Repair a Torn Coat Lining at the Seam
- Patching a Hole in a Coat Lining
- Coat Lining Fabric Options for a Replacement
- The Professional Coat Repair Process, Step by Step
- Coat Lining Replacement in Calgary: When a Full Relining Makes Sense
- Book a Lining Assessment at Calgary Seamstress
- Frequently Asked Questions
Why Wool Coat Linings Tear and When to Act
Repairing wool coat linings starts with understanding why they fail.
Torn linings are common every fall. Many owners notice the damage months after it starts, by which point a small hole may have grown into a large rip.
Early action saves the coat: a quick fix at the first sign of wear costs far less than a full relining later.
Common wear points in a wool overcoat
Lining damage rarely happens at random. It clusters in predictable spots:
- Underarm seams, where sweat and friction wear the thread thin
- The back shoulder, where the lining rubs against bags and seatbelts
- The hem, where the lining catches on boots and chairs
A wool overcoat is heavy. That weight pulls on the lining with every movement. Thin, low-quality lining fabric gives out first.
Watch for early warning signs: a soft spot in the fabric, loose threads at a seam, or a slight tear near the underarm. Catch these and the repair stays simple.
Assessing Lining Damage Before You Repair
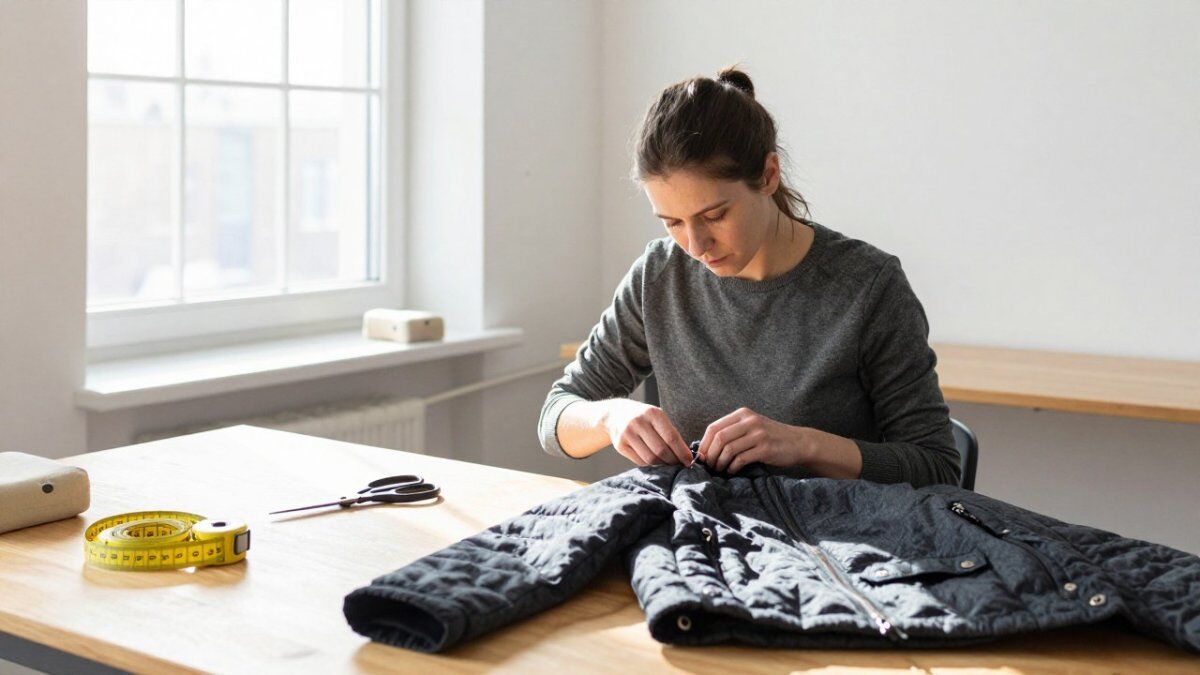
Before you pick up a needle, look closely at the damage. Size and location decide your repair method.
Turn the coat inside out and lay it flat in good light. Check every seam and stress point. Then sort the damage into one of three groups.
Small hole versus large rip versus seam split
| Damage Type | What It Looks Like | Best Fix | Difficulty |
|---|---|---|---|
| Small hole | Under 2.5 cm, clean edges | Darning or iron-on patch | Easy |
| Seam split | Stitching opened, fabric intact | Restitching | Easy |
| Large rip | Jagged tear, frayed edges | Patch or partial replacement | Medium |
| Widespread damage | Multiple tears, fabric thin | Full relining | Professional |
A seam split is the best-case scenario. The fabric is fine; only the thread failed. You can often restitch it in minutes.
A small hole is next: if the edges are clean and the surrounding fabric is strong, a patch will hold.
A large rip changes things. Once the edges fray, a simple patch may pucker or pull loose.
If you are unsure whether to tackle it yourself, review the top 10 common clothing repair mistakes to avoid before you start cutting.
How to Repair a Torn Coat Lining at the Seam
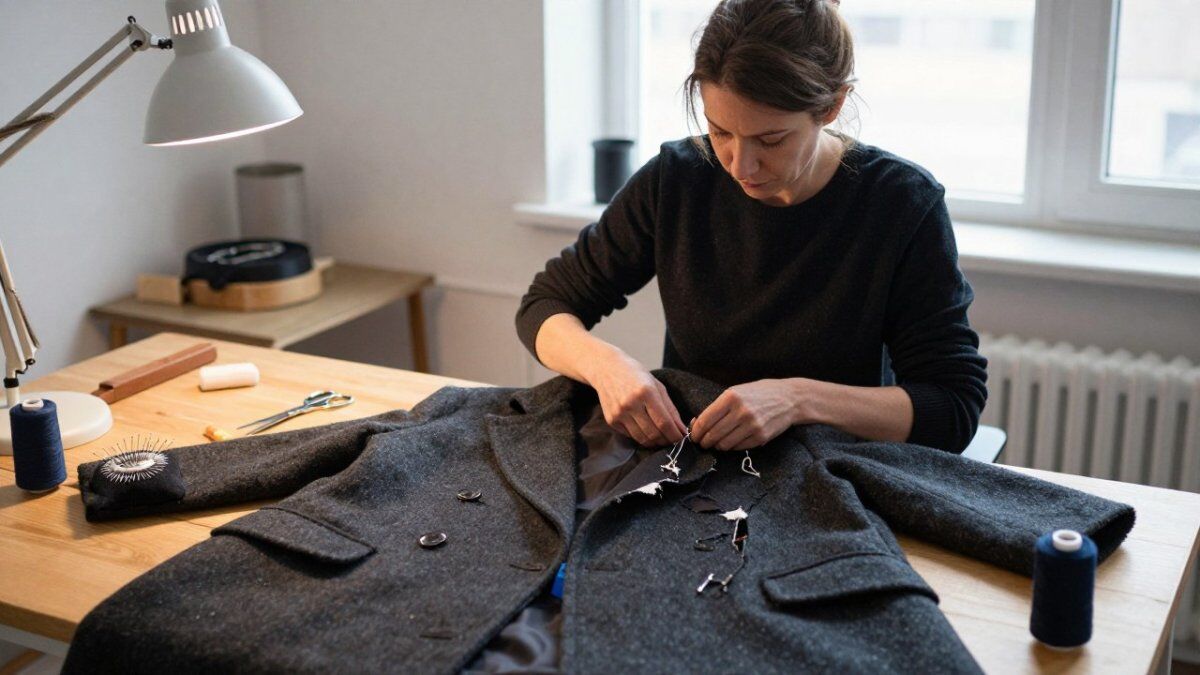
A split seam is the easiest lining repair and the one most owners can handle. You are not rebuilding fabric, just closing a gap.
- Turn the coat inside out and find where the stitching gave way.
- Trim loose threads with small scissors. Do not pull them, or you may open more of the seam.
- Pin the seam edges together, matching the original seam allowance, the small strip of fabric beyond the stitch line.
- Thread a needle with matching polyester thread. Polyester outlasts cotton on a lining.
- Backstitch along the original line, keeping stitches small and even.
- Knot and trim the thread, then press the seam flat with a cool iron.
Keep your stitches loose enough that the lining can still move. A tight, rigid seam will tear again the first time you raise your arm.
Patching a Hole in a Coat Lining
A hole needs a patch, and the patch material matters as much as the technique.
Start with fusible tricot, a thin iron-on knit made for lining repairs. It bonds flat and stays flexible. For larger holes, use a piece of matching lining fabric.
The steps:
- Trim frayed edges so the patch can sit flat.
- Cut the patch about 1 cm larger than the hole on every side.
- Round the corners so they do not lift.
- Place the patch over the hole, shiny side down if using fusible tricot.
- Press with a warm iron for 10 to 15 seconds, using a cloth between the iron and the fabric.
- Check the bond, then repeat if any edge lifts.
For a large rip, stitch the patch edges by hand after fusing to add strength where the fabric pulls most.
Coat Lining Fabric Options for a Replacement
Choosing the right lining fabric decides how long the repair lasts. Match it to the coat’s weight and construction; the lining should be slightly lighter than the shell, never heavier.
The main lining fabrics and where they fit
Bemberg rayon is a common choice for a wool coat. It feels smooth, breathes well, and slides over clothing.
Polyester lining is durable, wrinkle-resistant, and easy to care for, but less breathable than rayon.
Acetate has a silky feel and a good drape. It works well in dressier coats but can be delicate and is less forgiving of friction at the underarm.
Cotton or cotton blends suit casual jackets.
Matching lining weight to wool-coat construction
A wool overcoat is a structured garment with interfacing in the chest and lapels, a back or center vent, and sometimes a half or full canvas. The lining has to work around all of it.
- Heavy melton or tweed shell: choose a mid-weight Bemberg rayon or a good polyester. A thin lining will tear at the underarm within a season.
- Lighter wool flannel or gabardine: choose a lighter rayon or cupro. A heavy lining will drag and pull the shoulders out of shape.
- Vented back: the lining must be cut with extra ease at the vent so it does not split when you sit. Ask the shop how they handle vent ease.
A common pattern is for a cheap relining to use a single lightweight polyester throughout, which feels slick at first and then fails at the underarm and hem.
What to ask about lining fabric before you commit
- What fiber and weight are you using, and why? A good shop names the fabric and explains the match.
- Will you reinforce the underarm and hem? These are the first points to fail.
- Is the lining pre-shrunk? An unshrunk lining can pucker after the first cleaning.
For a full replacement, choose a fabric close to the original weight. A heavy lining in a light coat will drag. Our guide to choosing the right fabric for repairs breaks down how to match fabric to garment.
Watch out: a shop that quotes a relining without asking about the shell fabric, vent style, or how often you wear the coat is guessing at the weight match.
The Professional Coat Repair Process, Step by Step
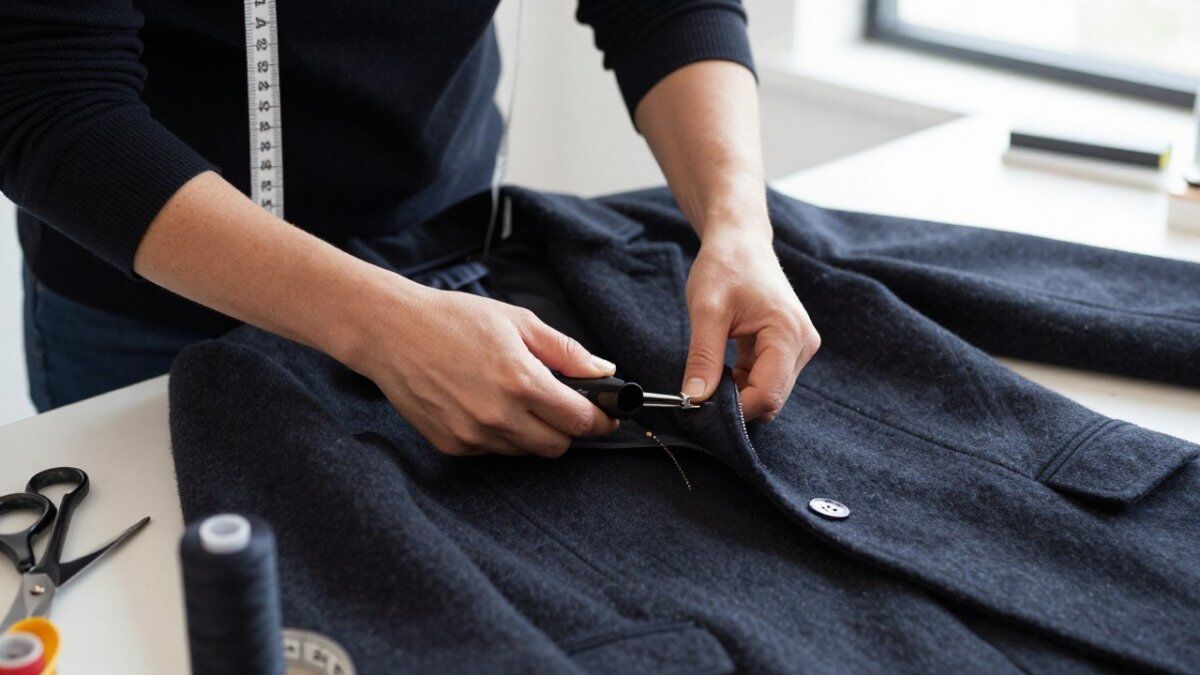
A professional lining repair follows a clear process. Understanding it helps you judge a quote and know what to expect.
- Inspection. We check every seam, not just the visible tear. Hidden wear nearby often fails next.
- Opening the seam. We use a seam ripper to open the lining along the closest seam, giving access to the damage.
- Pattern and cut. For a full relining, we trace the old lining as a pattern and cut new fabric.
- Basting. We pin or baste the new lining in place to check the fit before final stitching.
- Stitching. We machine-stitch the seams, leaving the correct seam allowance for movement.
- Reattaching. We reconnect the lining to the coat at the hem, armholes, and facings.
- Pressing and final check. We press the seams and inspect the finish inside and out.
Ask about turnaround time when you book.
Coat Lining Replacement in Calgary: When a Full Relining Makes Sense
A full relining replaces the entire lining, not just the damaged area. It makes sense in specific cases. A patch is the wrong call when the whole lining is failing. The decision comes down to four factors: how much damage there is, the condition of the remaining lining, the value of the coat, and how the coat is constructed.
Repair versus replacement: a decision framework
| Factor | Points toward a localized repair | Points toward a full relining |
|---|---|---|
| Damage extent | One tear under 2.5 cm, or a single split seam | Three or more separate tears, or damage at both underarms |
| Lining condition | Fabric around the damage is strong and supple | Fabric feels thin, brittle, or shiny across large areas |
| Coat value | Casual or lower-cost coat | Quality wool overcoat worth preserving |
| Construction | Simple unlined or half-lined style | Structured coat with vents, facings, and set-in sleeves |
| Fit | Coat fits well as is | Coat needs resizing while the lining is out |
A localized repair is right when the damage is contained and the surrounding fabric still has life. A full relining is right when patching one hole just moves the problem to the next weak point.
Calgary winters are hard on coats. Salt, slush, and heavy layering speed up lining wear. A coat worn daily from October to March often needs relining before the shell shows any damage.
What drives a relining estimate in Calgary
A shop cannot give a firm quote without seeing the coat, but you can expect the estimate to depend on:
- Coat length and complexity. A short jacket takes less fabric and less time than a full-length overcoat with a vent.
- Number of attachment points. Facings, armholes, hem, and vent all have to be reconnected by hand or machine.
- Lining fabric chosen. Bemberg rayon and cupro cost more than standard polyester.
Ask for the estimate in writing and ask what would change it. A shop that inspects hidden seams before quoting is more likely to give you a number that holds.
Questions to ask before handing over a wool coat
- What exactly will you repair or replace? A good shop inspects hidden seams, not just the visible tear.
- What lining fabric will you use, and why? Get the fiber and weight.
- Will you reinforce the underarm and hem? These fail first.
A full relining also lets you upgrade the fabric, making an old coat easier to wear. If your winter coat is too large, we can make it snug while the lining is out. See our coat resizing service.
Watch out: a quote that is far below the others usually means a lighter lining, fewer attachment points, or no reinforcement at the wear spots.
Book a Lining Assessment at Calgary Seamstress
Not sure whether your coat needs a patch or a seam fix? Bring it in and ask about your options before any work starts.
Our repairs and fixes service covers the full range of garment work, and if the coat is part of a suit, our Suit Tailoring can keep the jacket and trousers fitting properly while the lining is restored.
We are located in Calgary Southcentre Mall. You can contact our seamstress by phone or through the site to book a lining assessment, or use our appointments and booking page to pick a time that suits you.
A torn lining does not mean the end of a good coat. With the right repair, a wool overcoat can serve you for many more winters.
Frequently Asked Questions
Can a tailor repair a torn wool coat lining?
Yes. A tailor can repair a torn wool coat lining by restitching an open seam, darning a small hole, or adding a patch behind a worn area. The right fix depends on where the tear sits and how much fabric surrounds it. A clean seam split is usually the quickest repair, while a rip in the middle of the lining panel needs a patch or a partial replacement. Ask for an assessment before any work begins so you know which route applies to your coat.
Can a coat lining be repaired without replacing the whole lining?
Often, yes. If the damage is confined to a seam, an underarm gusset, or a small section near the hem, a tailor can open the seam, restitch it, or insert a patch of matching lining fabric. A full relining is only needed when the fabric has failed across large areas, such as multiple rips along the back panel or widespread thinning. A hands-on assessment tells you which option your coat needs.
When should a wool coat lining be replaced instead of repaired?
Replacement makes more sense when the lining fabric has torn in several places, has worn thin along the back and shoulders, or has already been patched more than once. It is also the better choice when the original lining has shrunk or discolored beyond cleaning. A repair on failing fabric tends to fail again within a season. If the outer wool is still in good shape, a full relining gives the coat another several winters of wear.
How do I prepare a wool coat for a lining repair?
Empty every pocket, remove detachable hoods, belts, and fur trims, and brush the outer wool before you bring the coat in. Point out every tear you have noticed, including small ones inside the sleeves, and mention any previous repairs. If the coat needs cleaning, ask whether it should be cleaned before or after the lining work, since some wool fabrics behave differently once washed. Clear notes on what you want fixed help the tailor quote and plan the job accurately.