Table of Contents
- What You’ll Need Before You Start
- Understanding Wedding Dress Bustle Types
- How to Bustle a Wedding Dress Step by Step
- How to Tie a Wedding Dress Bustle Securely
- Wedding Dress Bustle Buttons and Loops Explained
- How to Teach Someone to Bustle a Wedding Dress
- Common Mistakes to Avoid When Bustling
- Frequently Asked Questions
Last Updated: October 10, 2026
What You’ll Need Before You Start
Bustling a wedding dress requires only a few basic tools and materials. Gather these items before you begin: a needle, thread that matches your dress fabric, small safety pins, and scissors. You’ll also want a full-length mirror so you can see the back of the dress clearly. If your dress has existing bustle loops or buttons, inspect them first to understand how they’re positioned. Working in good lighting helps prevent mistakes and makes the process easier to see and execute properly.
Have someone help you. Bustling involves reaching the back of the dress, which is difficult to do alone. A friend or family member can hold the fabric in place while you secure it, and they can provide feedback on how the back looks.
Understanding Wedding Dress Bustle Types
Before you learn how to bustle a wedding dress step by step, you need to know which type of bustle your dress has. The three main bustle styles each work differently and require slightly different techniques. Understanding your dress’s bustle type determines the exact method you’ll use. Most wedding dresses feature one of these three designs, and identifying yours is the first critical step in the bustling process.
French Bustle
A French bustle lifts the train by attaching it to loops or buttons positioned on the inside of the dress at the waist. The fabric is gathered up and secured, creating a rounded, elegant lift at the back. This style is popular because it distributes the weight evenly and creates a graceful silhouette. The train sits higher on the back, which works well for dancing and moving around at receptions. French bustles typically use buttons sewn into the waistband and corresponding loops attached to the underside of the train.
American Bustle
An American bustle works differently from a French bustle. Instead of lifting from the waist, it attaches the train to loops positioned lower on the dress, usually near the hem of the skirt. The fabric is pulled up and fastened, creating a more dramatic lift that bunches the train fabric visibly at the back. This style creates a fuller, more pronounced gathered look. American bustles are ideal if your dress has a long, heavy train that needs extra support. The lower attachment points distribute weight differently than a French bustle.
Pickup Bustle
A pickup bustle is the simplest option and requires no buttons or loops. Instead, you manually gather sections of the train fabric and secure them with pins or hand-stitching. This method works well for lighter fabrics and shorter trains. Pickup bustles offer flexibility because you can adjust the gathered sections as needed throughout the event. Many brides prefer this style because it doesn’t require permanent alterations to the dress.
How to Bustle a Wedding Dress Step by Step
Learning how to bustle a wedding dress step by step takes practice, but the process becomes easier with repetition. Start by putting on the dress completely, including the veil and any accessories you’ll wear. Stand in front of a mirror so you can see the back. If you have a French or American bustle, locate the buttons or loops that are already sewn into your dress. For pickup bustles, identify which sections of fabric you’ll gather.
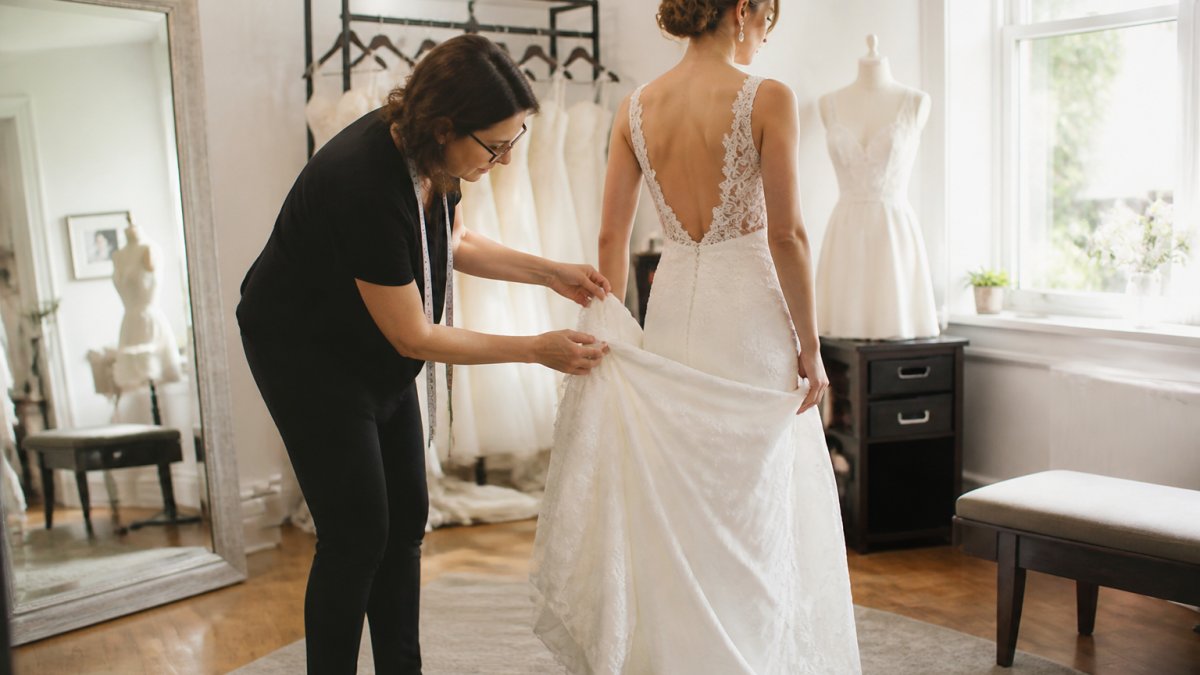
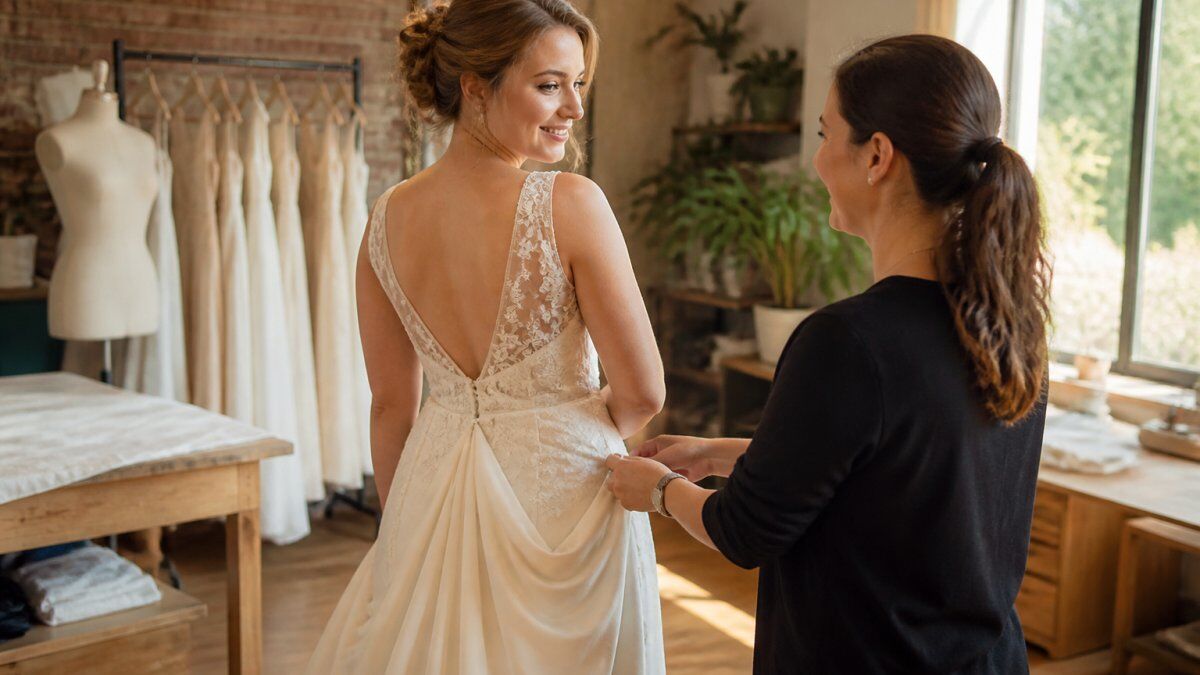
Begin with the center back section of the train. Gently lift the fabric and bring it toward the attachment point. If using buttons or loops, align the train fabric with the button or loop location. For a French bustle, work from the center outward, securing each section as you go. The goal is to lift the train evenly so it doesn’t bunch to one side. Take your time with each section to ensure the dress hangs properly.
Once the center is secured, move to the side sections. Repeat the same lifting and securing process on both sides of the dress. Make sure the gathered fabric is balanced so the back looks symmetrical. Step back and examine the result in the mirror. The bustled train should sit neatly against the back of the dress without pulling or creating uncomfortable tension. If something looks uneven, adjust the fabric until you’re satisfied.
Do not pull the fabric too tight. Excessive tension can damage delicate materials and make movement uncomfortable. The bustle should feel secure but not restrictive. If you feel pressure or discomfort, loosen the fabric slightly and redistribute the weight.
How to Tie a Wedding Dress Bustle Securely
Once you’ve lifted the train, securing it properly ensures it stays in place throughout the event. For a French or American bustle with buttons and loops, thread your needle and use small, tight stitches to attach the train to each button or loop. Make at least three stitches per attachment point to ensure it won’t come loose. Use thread that matches your dress color so the stitches are less visible. Knot the thread securely on the underside of the dress before moving to the next attachment point.
For a pickup bustle using pins, position safety pins horizontally through the gathered fabric and the dress layer beneath it. Use at least two pins per gathered section to prevent the fabric from shifting. Make sure pins are placed on the underside or interior of the dress so they’re not visible. If you prefer hand-stitching instead of pins, use the same small, tight stitches you’d use for button attachments. The key is ensuring the gathered sections don’t slip or move during dancing and movement.
Test the security by gently tugging on the bustled sections. They should not move or shift. If any section feels loose, add another stitch or pin to reinforce it. Walk around and move your arms to simulate dancing. The bustle should remain stable and comfortable. Practice tying and untying your wedding dress bustle several times before the wedding day so you’re confident in the process.
Wedding Dress Bustle Buttons and Loops Explained
Wedding dress bustle buttons and loops are the hardware that hold your bustled train in place. Understanding how they work helps you bustle your dress correctly. Buttons are typically sewn onto the inside of the dress at the waist for a French bustle or lower on the skirt for an American bustle. Corresponding loops are attached to the underside of the train fabric. When you lift the train and align it with the buttons, you thread the loops over the buttons to secure them.
The loops are usually made from the same fabric as the dress or from coordinating ribbon or cord. They’re sized to fit snugly over the buttons without slipping. Quality buttons and loops should be sturdy enough to support the weight of the train throughout the event. If your dress buttons or loops feel loose or damaged, have a professional tailor repair or replace them before the wedding.
Some dresses feature multiple buttons and loops to distribute weight evenly. A typical French bustle might have three to five attachment points. An American bustle often has four to six points because the lower positioning requires more support. Inspect your specific buttons and loops to count how many attachment points your dress has. This tells you how many sections you’ll need to secure when you bustle.
The number of buttons and loops on your dress determines how many times you’ll need to secure the train. More attachment points mean more stability and a more polished look.
How to Teach Someone to Bustle a Wedding Dress
If you want someone else to bustle your dress during the reception, you need to teach them the process clearly. Start by having them practice on the dress while you’re wearing it. Walk them through each step slowly, explaining what you’re doing as you go. Show them where the buttons or loops are located and how to align the train fabric with each one. Let them practice securing one section while you provide feedback.
Once they understand the basic technique, have them bustle the entire dress from start to finish. Watch to ensure they’re using proper tension and not pulling too hard on the fabric. Correct any mistakes gently and explain why a particular technique works better. Practice this several times so they feel confident. On the wedding day, they’ll need to work quickly, so familiarity with the process is essential.
Provide written instructions or a simple diagram showing the bustle points. Take a photo of the correctly bustled dress to use as a reference. This visual aid helps your helper remember exactly how the finished bustle should look. Discuss any concerns they have about the process and address them before the wedding. Clear communication prevents mistakes and ensures your dress looks perfect throughout the event.
Common Mistakes to Avoid When Bustling
Many brides and their helpers make preventable mistakes when bustling a wedding dress. The most common error is pulling the fabric too tight, which creates discomfort and can damage delicate materials. Pulling too hard also distorts the dress shape and creates unflattering bunching. Always use gentle, even tension when lifting and securing the train.
Another frequent mistake is uneven bustling. If you secure the center section too tightly while leaving the sides loose, the dress will look lopsided. Take time to ensure each section is secured with equal tension. Step back frequently to examine the overall appearance from behind. Symmetry is essential for a polished look.
Some brides forget to practice bustling before the wedding day. Attempting it for the first time during the reception causes stress and often results in an imperfect bustle. Practice the process multiple times in the weeks before your wedding. This builds confidence and muscle memory so you can bustle quickly and correctly when it matters.
Not securing the bustle firmly enough is another common issue. If stitches are too loose or pins aren’t positioned correctly, the train will slip and move during dancing. Use multiple stitches or pins per attachment point. Test the security by gently tugging before you consider it complete. A secure bustle stays in place throughout the entire event.
Finally, many people don’t inspect their buttons, loops, or stitching before the wedding. Loose or damaged hardware can fail at the worst moment. Have your dress checked by a professional seamstress weeks before the wedding.
Bustling your wedding dress is a skill that takes practice but becomes second nature with repetition. The key is understanding your specific bustle type and practicing the process multiple times before the wedding day.
Frequently Asked Questions
What is the easiest way to bustle a wedding dress by yourself?
The easiest bustle type to manage alone is a pickup bustle, which uses strategically placed loops sewn into the dress. Simply thread the fabric through the loops and secure with buttons or hooks. If your dress has a French or American bustle, practice beforehand and consider having a trusted friend or family member assist during the reception. Most brides find it helpful to have someone familiar with the technique available, even if they can manage it independently.
How do you keep a wedding dress bustle from coming undone?
Secure all buttons or hooks firmly and double-check each attachment point before moving. If your dress uses a bustle with buttons and loops, ensure buttons are sewn on securely and loops are reinforced at the seams. Avoid tugging or pulling the bustled fabric during the reception. If you’re concerned about durability, ask your seamstress to reinforce stress points during alterations. Practice bustling and unbustling several times before your wedding so you know exactly how much tension each section needs.
Can every wedding dress be bustled?
Most wedding dresses can be bustled, but heavily embellished or extremely delicate fabrics require careful consideration. Dresses with extensive beading, appliqués, or intricate lacework may need a specialized bustle design. Very lightweight or slippery fabrics sometimes need reinforced loops or alternative attachment methods. Discuss your dress’s specific construction with a professional seamstress during your fitting. They can assess whether a traditional bustle works or if a custom solution is needed to protect your dress while maintaining its appearance.
When should you bustle a wedding dress during the reception?
Bustle your dress immediately after the ceremony or during the transition between the ceremony and reception. Most brides bustle after formal photos are complete but before entering the reception venue. This timing allows you to move freely during the reception without stepping on your train. If you’re having a first dance, bustle beforehand so you can move comfortably. Plan the bustling moment with your attendants so someone is ready to help if needed.